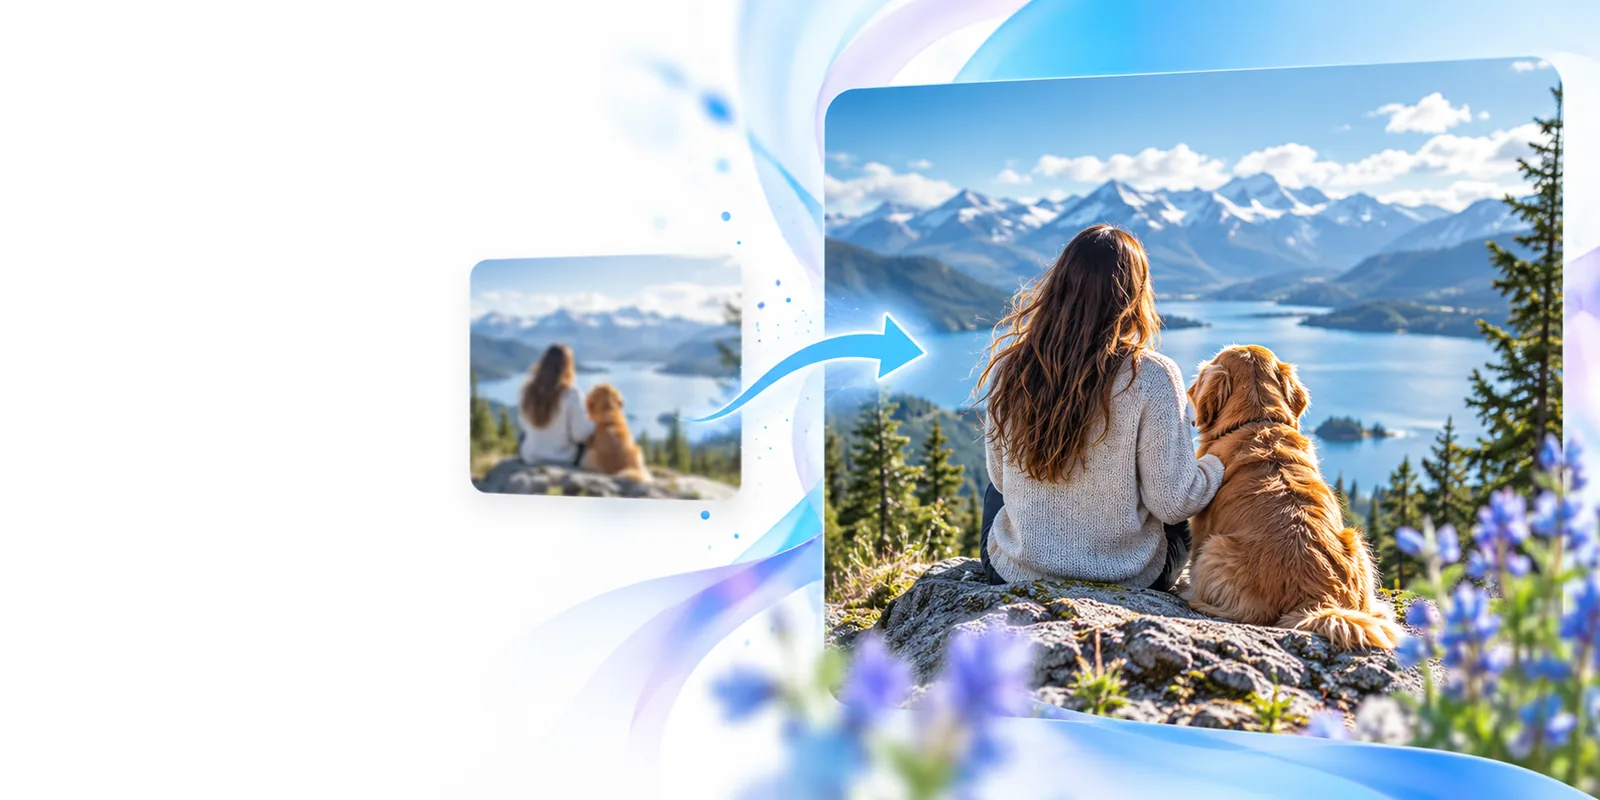
Image enlargement

Make more of a small photo with an ai image upscaler

An ai image upscaler enlarges an image while estimating detail that was not visible at its original size. The result can look cleaner than a basic resize, but it is an interpretation of the source, not a recovery of hidden pixels.

Continue to the partner site
Imageupscaler landing visual illustrating image enlargement

Three mechanisms behind a cleaner enlargement

An image upscaler does more than add pixels. These three steps explain what to expect and what to check before using the result.

  1. 1

    Read the source

    The system examines existing edges, shapes, color transitions, and noise. A clear source gives it more reliable clues than a heavily compressed thumbnail; enlargement cannot reveal information that the file never contained.

  2. 2

    Estimate new detail

    Rather than copying nearby pixels, AI predicts plausible texture and sharper boundaries at a larger size. This can help hair, fabric, and scenery, but an estimate may change a distinctive feature or create detail that was never there.

  3. 3

    Inspect the output

    Compare the enlarged image with its source at the size you will actually use. Check eyes, lettering, repeated patterns, and fine lines; if those areas drift, try a gentler enlargement or return to the original file.

Step-by-step choices for different images

Start with the intended use, then judge whether an image upscaler preserved the parts that matter most. Each situation calls for a different final check.

Portrait editor

You need a larger crop of a small portrait. First use the best available source, then compare eyes, skin texture, and the hairline with the original.

Keep the enlargement only if the person still looks like themselves; apparent sharpness is not a substitute for accurate facial features.

image upscaler face

Print designer

You are preparing an image for a larger layout. Determine the physical print size before enlarging, then inspect the result at the approximate viewing size.

For a display-resolution goal, image upscaler 4k explains why pixel dimensions alone do not guarantee a convincing print.

image upscaler 4k

Canva creator

A photo looks soft after being placed in a design. Check whether the original was already small before enlarging and replacing it.

Review the finished design for changes to embedded lettering or logos; image upscaler canva covers that editing workflow in more detail.

image upscaler canva

Limits and edges: AI enlargement versus standard resizing

Neither method is best for every file. This comparison separates the cases where an image upscaler may improve appearance from those where exact source fidelity matters more.

AI enlargement
Standard resizing

New pixels

AI enlargement

Predicts plausible detail based on patterns in the source image.

Standard resizing

Interpolates values between existing pixels without interpreting the scene.

Small photos

AI enlargement

May make edges and textures look more defined, subject to source quality.

Standard resizing

Usually makes softness more visible as the image grows.

Faces

AI enlargement

Can produce convincing features, but may subtly change identity.

Standard resizing

Preserves the source appearance, including its blur.

Text and logos

AI enlargement

May alter letter shapes, symbols, or brand-specific details.

Standard resizing

Keeps the original shapes, though their edges may remain soft.

Historical or evidentiary images

AI enlargement

Inferred detail should not be treated as a factual reconstruction.

Standard resizing

Avoids invented features; retain the original alongside any resized copy.

Best final check

AI enlargement

Compare against the original for artifacts and changed details.

Standard resizing

Check whether the resulting softness is acceptable at the intended size.

Related ways to evaluate an enlargement

If the comparison leaves you unsure, these guides offer more specific checks for output size, tool access, and the underlying process.

Try an enlargement, then compare it with your source

See whether added detail helps your image

Choose a photo whose larger version you actually need, and keep the original beside the result. An image upscaler is most useful when the output looks better at its intended size without changing important features.

Enlarge an image
  • Start with the clearest source available
  • Inspect faces, text, and fine patterns
  • Judge the image at its intended display size

AI enlargement FAQ

It estimates plausible pixels and detail from patterns it recognizes in the source. That can make an enlargement appear sharper, but the new detail is not proof of what was present in the original scene.

It may improve the appearance of mild softness, especially around recognizable edges. Severe motion blur, missed focus, or heavy compression leaves too little dependable information, so inspect the result for invented features.

Use caution: generated detail can change individual letters, small symbols, and precise outlines. If the artwork needs to remain exact, obtain a higher-resolution original or a vector version instead.

Compare it with the original at the size you intend to display or print. Look beyond sharpness: natural texture, recognizable faces, accurate lettering, and the absence of strange repeated patterns matter more.

Start creating
Start creating