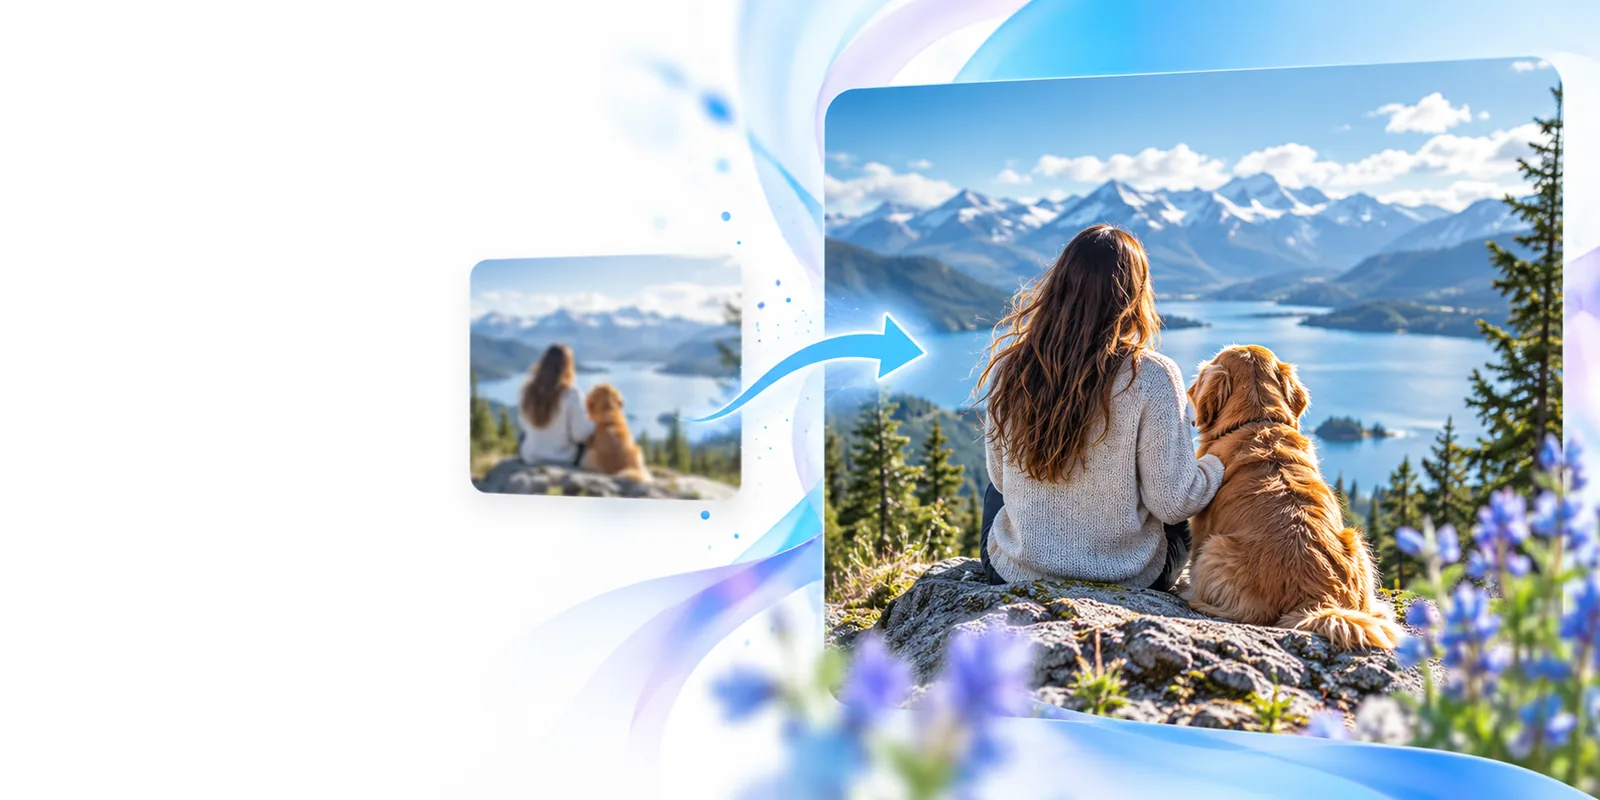
Get a display-ready result with an image upscaler 4k workflow

A larger pixel count is only useful if the picture still looks convincing. Start with the best source you have, decide which 4K dimensions you need, and inspect the result at the size people will see.

Free to start · no signup
Imageupscaler landing-page image illustrating image enhancement

Prerequisites

Before choosing an image upscaler, find the original file rather than a compressed copy from a message or social post. Check its dimensions and intended display.

Photographer

You need a landscape photo for a UHD screen. Keep the camera original and check whether its framing fits a 16:9 canvas.

A closer look at texture and edge quality helps you judge whether enhancement is worthwhile. An ai image upscaler explains the kind of reconstruction you may be comparing.

ai image upscaler
Presentation designer

A slide uses a small image across a wide display. Confirm the visible area before making a larger version.

You can choose between cropping the image and leaving space around it. The guide to upscale image to 4k covers that output decision.

upscale image to 4k

Portrait editor

A headshot looks soft when placed on a large monitor. Check the eyes, hairline and background separately.

A face-specific review helps catch changes that a full-image preview can hide. Image upscaler face focuses on those details.

image upscaler face

Archive keeper

An older photo is the only copy available. Record its current dimensions and avoid repeatedly saving compressed versions.

You can compare the enhanced copy with the untouched original before using either. What is the best way to upscale images? outlines that broader workflow.

What is the best way to upscale images?

One full run-through

Suppose your source is a 1280 × 720 landscape photo and your destination is a 3840 × 2160 UHD display. Both are 16:9, so this example needs no crop.

  1. 1

    Choose the source

    Open the least-compressed original you can find. Inspect it at actual size for blur, noise and tiny writing; an image upscaler cannot recover detail that was never captured.

  2. 2

    Aim for the display

    Use 3840 × 2160 as the UHD reference for this example, if the tool offers output-size controls. If it does not, check the exported dimensions before deciding how to place the image.

  3. 3

    Compare and keep the better version

    View the original and enlarged image at the same displayed size. Inspect faces, straight lines and fine texture; retain the original if the enhanced result introduces distracting patterns.

Inspect the result at two scales

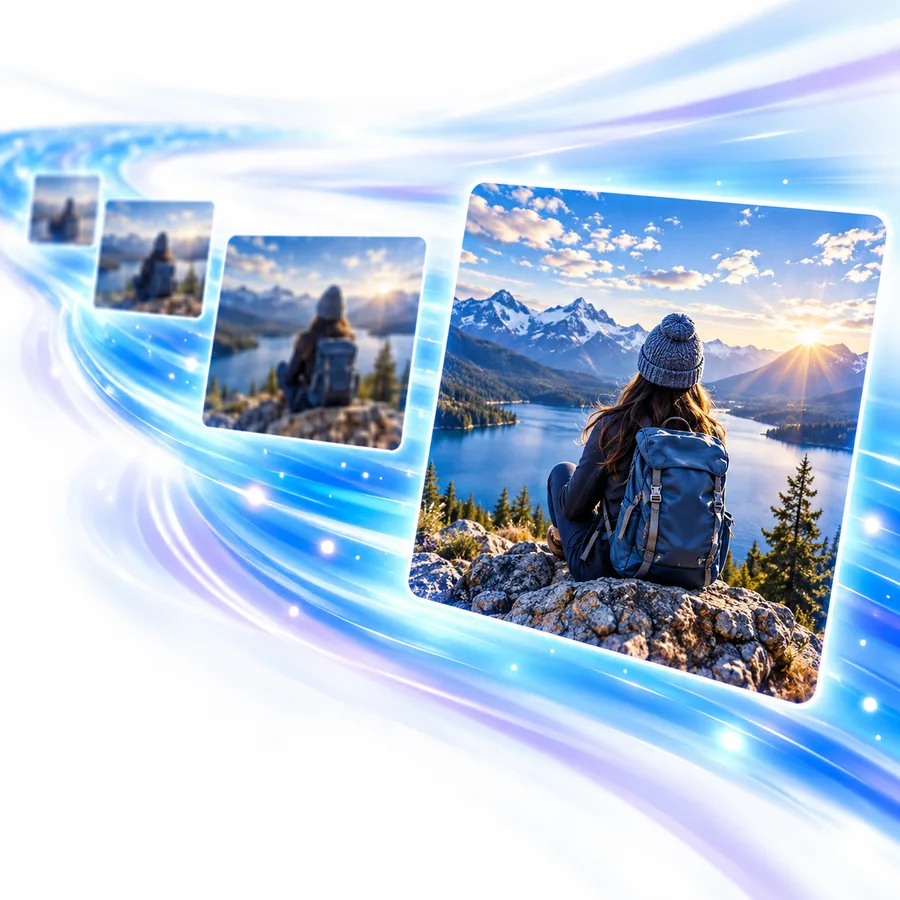
Illustration of an image-enhancement scene
01

Start with the whole frame

A full-frame preview shows whether the composition still works on a 4K canvas. Look for unexpected cropping, stretched proportions or a background that appears unnaturally sharp beside the subject. The image upscaler result should serve the intended display, not just reach a larger number.

  • Check the displayed aspect ratio
  • Compare framing with the original
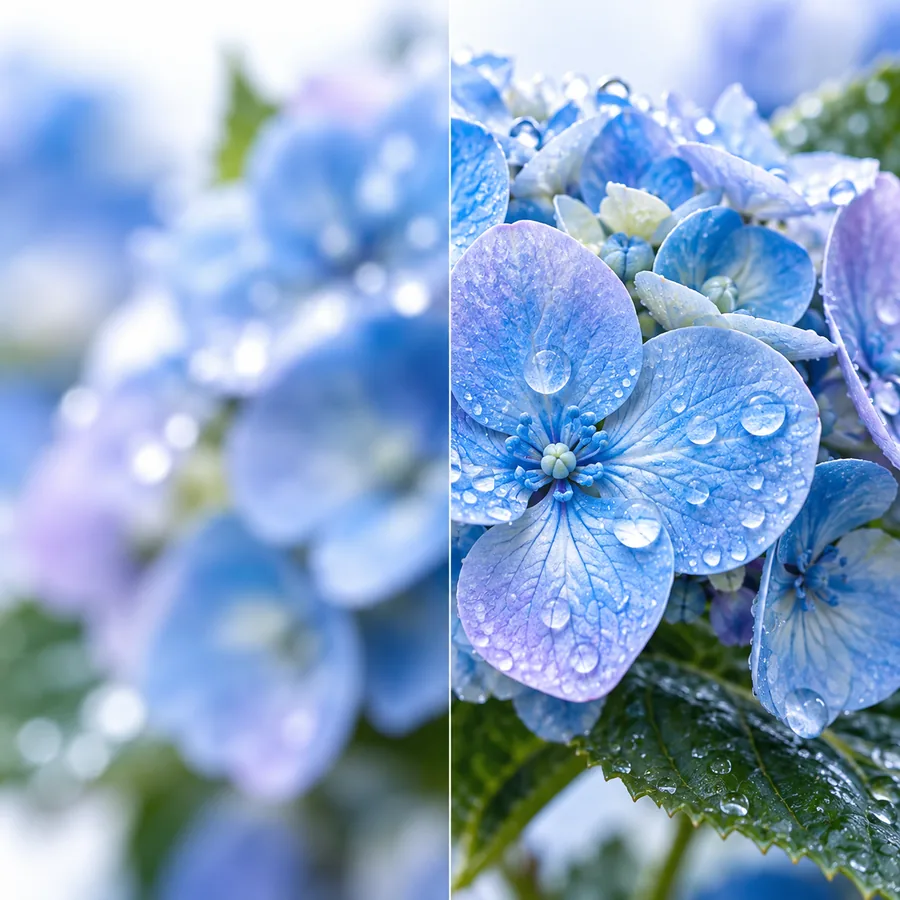
Illustration of a second image-enhancement scene
02

Then inspect difficult details

Zoom in on eyes, foliage, thin edges and any lettering. These areas reveal invented texture or halos more readily than a fit-to-screen preview. If they look wrong, try a better source or use the less-processed version rather than assuming another enlargement will fix them.

  • Review small features at actual size
  • Keep the untouched file for comparison

Options table

These are planning targets, not guaranteed settings or outputs. Choose dimensions for the screen or layout, then verify what your exported file actually contains.

Original 1280 × 720 photo
Planned 3840 × 2160 UHD image

Pixel dimensions

Original 1280 × 720 photo

1280 × 720

Planned 3840 × 2160 UHD image

3840 × 2160

Aspect ratio

Original 1280 × 720 photo

16:9

Planned 3840 × 2160 UHD image

16:9; no crop needed in this example

Pixels across

Original 1280 × 720 photo

1280

Planned 3840 × 2160 UHD image

3840; three times the original width

Pixels down

Original 1280 × 720 photo

720

Planned 3840 × 2160 UHD image

2160; three times the original height

Fine detail

Original 1280 × 720 photo

Limited by the captured source

Planned 3840 × 2160 UHD image

Must be checked visually; more pixels do not prove more accurate detail

Best use

Original 1280 × 720 photo

Reference for comparing texture and framing

Planned 3840 × 2160 UHD image

Candidate for a UHD display after visual review

What fails

Missing detail stays uncertain

An image upscaler may make a blurry surface look more defined without restoring what was actually there.

Workaround

Use a sharper original when available, and compare recognizable features against it.

Small text can change

Letters in a low-resolution sign or label may become distorted or falsely legible after enhancement.

Workaround

Replace important text from a verified source instead of relying on the enlarged pixels.

The wrong shape still needs a layout decision

A portrait or square image does not naturally fill a 16:9 UHD frame. Enlargement alone cannot remove that mismatch.

Workaround

Crop deliberately or leave margins; avoid stretching the picture.

A target size is not a quality guarantee

A file can measure 3840 × 2160 and still show halos, noise or artificial texture.

Workaround

Check the exported dimensions and inspect the image at its intended viewing size.

Check your next image

Start with the best original you have

Bring a source image and a display target, then evaluate the output against the original. Imageupscaler can help you begin the enhancement workflow; judge the exported image by its dimensions and visible detail.

Upscale an image
  • Keep the original for comparison
  • Confirm the final dimensions
  • Inspect faces, edges and text

FAQ

For a typical UHD display, 4K usually means 3840 × 2160 pixels. Digital cinema 4K uses 4096 × 2160, so check the destination before choosing a target.

It can produce more pixels, but it cannot guarantee faithful detail from a blurry or heavily compressed source. Compare the result with the original, especially around faces, text and fine lines.

Not if the photo and screen share the same aspect ratio, such as 16:9. A square or portrait photo needs cropping or empty space to fit a widescreen frame without distortion.

Use both views. Actual-size inspection reveals artifacts, while the intended display size shows whether those artifacts matter in practice.

Start creating
Start creating