Faces can drift
A face may look polished while small features no longer match the person. For an important portrait, compare eyes, mouth, and hairline with the untouched source.
Image enlargement
An image upscaler free search can lead to tools with very different access terms and results. Start with the image you have, decide how large it needs to be, and inspect the output before relying on it.
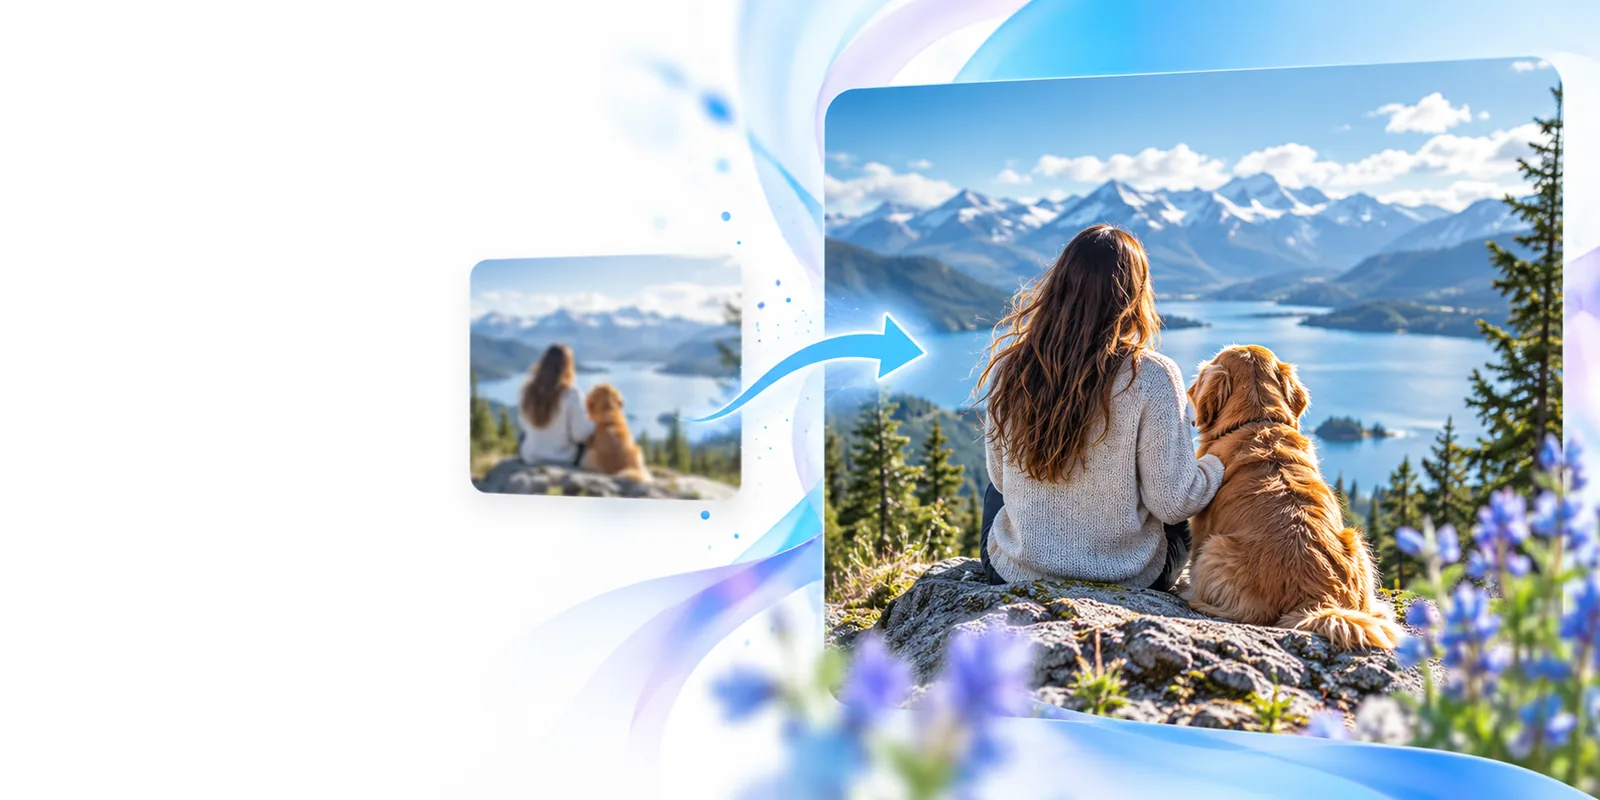
Pixel dimensions tell you how big an output is, not whether it looks convincing. Compare the enlarged image with its source at the size you actually plan to use.
An image upscaler can add pixels through interpolation, estimate detail, and sharpen edges. None of those mechanisms can reliably recover information that was never captured.
Without every one of these the route does not run.
Keep the highest-quality source image you can find; a compressed copy gives the image upscaler less reliable detail to work from.
Choose a target use, such as a screen graphic or print, so you can judge the result at a relevant viewing size.
Inspect faces, lettering, fine lines, and repeating patterns in the original; these are useful places to check for invented detail later.
Skip any of these and the route still works — they only make it faster.
Keep an untouched copy for comparison and for another attempt if the enlarged version looks unnatural.
Treat the first output as a test rather than a finished asset. A short comparison catches problems that a larger pixel count can hide.
Open the best available original and note its existing softness, noise, or compression. An image upscaler may make these defects more noticeable when the picture is enlarged.
Set a size appropriate to the intended use if the tool offers that control. Check any available access and export terms before committing an important image.
View the source and result side by side. Zoom in on text, facial features, and clean edges, then step back to judge whether the whole image looks natural.
Basic resizing and AI-assisted upscaling solve different parts of the same problem. Neither guarantees that a poor source will become suitable for every use.
Main approach
Basic resizing
Estimates new pixels from nearby existing pixels.
AI-assisted upscaling
Uses a learned model to estimate how added detail might look.
Missing detail
Basic resizing
Cannot reconstruct detail absent from the source.
AI-assisted upscaling
May suggest plausible detail, but cannot verify what was originally there.
Text and logos
Basic resizing
Small lettering often stays soft.
AI-assisted upscaling
Letter shapes may change or become inaccurate.
Faces
Basic resizing
Features generally retain their shape while remaining soft.
AI-assisted upscaling
Features may look sharper but should be checked for changes.
Noise
Basic resizing
Existing noise is enlarged along with the image.
AI-assisted upscaling
Noise may be reduced, altered, or mistaken for detail.
Best check
Basic resizing
Inspect edge softness at the intended display size.
AI-assisted upscaling
Compare fine details against the original, not just the output dimensions.
A face may look polished while small features no longer match the person. For an important portrait, compare eyes, mouth, and hairline with the untouched source.
An image upscaler may turn barely readable text into convincing but incorrect characters. Check every word in signs, labels, and screenshots rather than trusting apparent sharpness.
A free preview does not establish that a full-size export is available on the same terms. Review the tool's current conditions and avoid assuming that an upload remains private.
Use your best source, keep the original, and assess any enlarged result at its intended size. Imageupscaler can point you toward the next step; check the destination's current capabilities and access terms before uploading.
Explore image optionsNot necessarily. A tool may allow a preview while applying different conditions to downloading or using an output. Check its current terms before you upload or plan around a result.
It may produce a cleaner-looking enlargement, but severe blur removes detail that the tool cannot verify. Compare faces, text, and fine edges with the original to spot changes that only appear convincing.
No. Printing needs enough pixels for the chosen physical size, but added pixels do not guarantee accurate detail. Inspect a sample at the intended dimensions, especially if the source is small or compressed.
Ordinary resizing is a reasonable first check when you need only a small increase and want to avoid invented details. An image upscaler may give a more detailed-looking result for a larger increase, but it needs closer inspection.