Choosing a tool

Find the best image upscaler online for your photo

The best image upscaler online is the one that improves your particular file without making faces, text or fine edges look artificial. Test the same image in each option, then inspect the exported results at actual size.

Check the result before using it
Imageupscaler landing-page visual

Prerequisites

Start with the highest-quality original you have and decide where the enlarged image will appear. That gives you a fair basis for judging any image upscaler.

Photographer

A favorite crop looks too small for its intended placement.

Compare fine texture against the original rather than judging sharpness from a thumbnail. For an upload-first workflow, see the online image upscaler, which focuses on working with an image in a browser.

online image upscaler
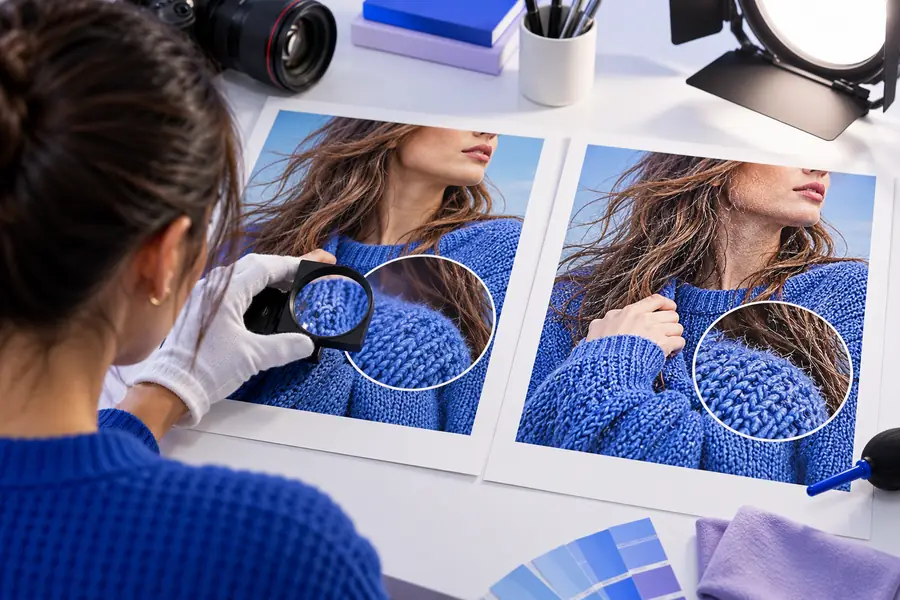
Shop owner

A product photo needs more pixels for a larger listing.

Check label lettering and product edges before using the export. The online image upscaler guide covers what to prepare when starting with an existing file.

online image upscaler

Designer

An older visual is being reused in a new layout.

Test the enlarged image at its final display size, especially around logos and type. The online image upscaler page explains the browser-based workflow for this kind of task.

online image upscaler

Family archivist

A small personal photo needs a larger viewing copy.

Keep the original and compare facial features carefully; apparent detail may be reconstructed rather than recovered. The online image upscaler overview helps you plan a first test from a saved photo.

online image upscaler

One full run-through

Use one representative photo throughout the test: save the original, try enlargement, export the result and compare both files at the same displayed size.

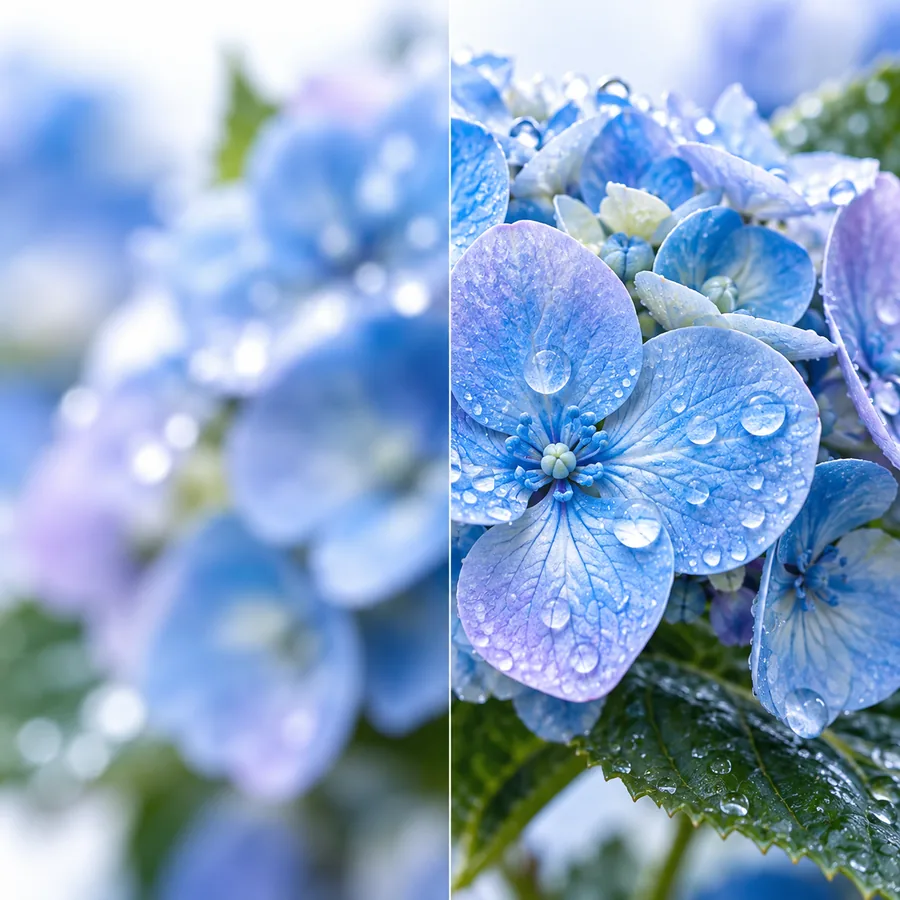
Softer image of a white fox before the illustrated enlargement Before · softer source
Sharper illustrated result showing the white fox after enlargement After · inspect the details
Illustrative before-and-after imagery, not a verified output from every tool. Look closely at fur, eyes and background texture in your own export.

Options table

A conventional resize and an AI-assisted image upscaler solve different problems. Neither approach guarantees a better-looking image in every case.

Conventional resize
AI-assisted upscale

Main approach

Conventional resize

Calculates additional pixels from the existing image.

AI-assisted upscale

May infer new-looking detail as it increases resolution.

Faithfulness

Conventional resize

Usually preserves the source's visible features.

AI-assisted upscale

Can change small textures or features while improving their appearance.

Soft source

Conventional resize

Typically remains soft when enlarged.

AI-assisted upscale

May look sharper, but cannot verify missing detail.

Text and logos

Conventional resize

Often predictable, though enlarged edges can blur.

AI-assisted upscale

Must be checked for altered letters or shapes.

Faces

Conventional resize

Does not intentionally reconstruct features.

AI-assisted upscale

May make features look clearer while changing them.

Best test

Conventional resize

Inspect the export at its intended display size.

AI-assisted upscale

Compare the export with both the original and a simple resize.

What fails

Even the best-looking preview can hide problems. An image upscaler cannot turn an ambiguous source into a record of what was really there.

Missing detail stays uncertain

If a face or object occupies very few pixels, plausible new detail may not match the original subject.

Workaround

Find a larger source file when accuracy matters, and retain the unedited original.

Tiny lettering can change

Text, serial numbers and logos may look crisp at a glance while containing incorrect characters or shapes.

Workaround

Inspect each character at full size; replace critical type from an authoritative source.

Compression can become prominent

Blockiness and halos already present in a compressed file may be amplified along with useful edges.

Workaround

Start from a less-compressed original when available and compare more than one export.

A preview is not the final file

A small on-page view may conceal artifacts or fail to show the dimensions you need.

Workaround

Open the exported file and check its dimensions and appearance before placing it.

Before you submit an image

A short checklist makes comparisons more useful than repeatedly changing tools or judging different photos side by side.

You must have

Without every one of these the route does not run.

  • Keep an untouched copy of the source image.

    It is your reference for both accuracy and improvement.

  • Know the intended display dimensions or placement.

    Judge the export where it will actually be seen.

  • Use the same source file for every option you compare.

    Different crops or compression levels make the test unfair.

  • Identify sensitive areas such as faces, lettering and repeating patterns.

    Inspect these at actual size, not only in the preview.

Nice to have

Skip any of these and the route still works — they only make it faster.

  • Prepare a simple resized copy as a baseline.

    It helps reveal whether AI-assisted changes are worthwhile.

Inspect the result at actual size

The right image upscaler preserves what matters in the source while making the enlarged file usable in its final setting.

Imageupscaler feature visual for examining image detail
01

Check recognizable features

Open the original and export together. At actual size, look for changes to eyes, facial contours, product details or any feature a viewer would recognize. More apparent sharpness is not an improvement if it changes the subject.

  • Compare the same crop in both files.
  • Prioritize accuracy over dramatic sharpness.
Imageupscaler feature visual for reviewing an enlarged image
02

Check the final placement

Put the exported image into the layout or viewing context you intend to use. A file that looks impressive when zoomed in may show harsh outlines at normal size; a modest improvement may be all the placement needs.

  • View it at the intended display dimensions.
  • Keep the original available for comparison.

Make the next comparison

Test an image you know well

Use a familiar photo as your reference, then judge the exported image for faithful detail and a useful final size. Imageupscaler can be a starting point for that comparison; inspect the result before relying on it.

Try an image
  • Compare against the untouched original
  • Inspect faces, text and edges
  • Check the exported file at its intended size

FAQ

Test your own photo rather than relying on a sample preview. Compare the export with the original at the intended display size, paying particular attention to recognizable features, fine texture and unwanted halos.

No. AI-assisted enlargement may make a soft photograph look more detailed, but it can also invent textures or alter small features. A conventional resize is a useful baseline when fidelity matters more than apparent sharpness.

Open the exported file and confirm that its dimensions suit your placement. Then inspect faces, text, logos and patterned areas at actual size; these can reveal errors that a small preview hides.

It can produce a larger image and may create plausible-looking detail, but it cannot establish what missing pixels originally showed. For an accurate record, use a higher-resolution source whenever one is available.

Start creating
Start creating