Portrait photographer
A client requests a larger crop from an older headshot.
Compare identity-bearing details before delivering; if the destination needs a defined resolution, see how to upscale image to 4k.
upscale image to 4kPortrait detail
A larger portrait is not necessarily a more faithful one. Start with the clearest source you have, then compare the result against the original—especially around eyes, teeth, hair, and skin texture.
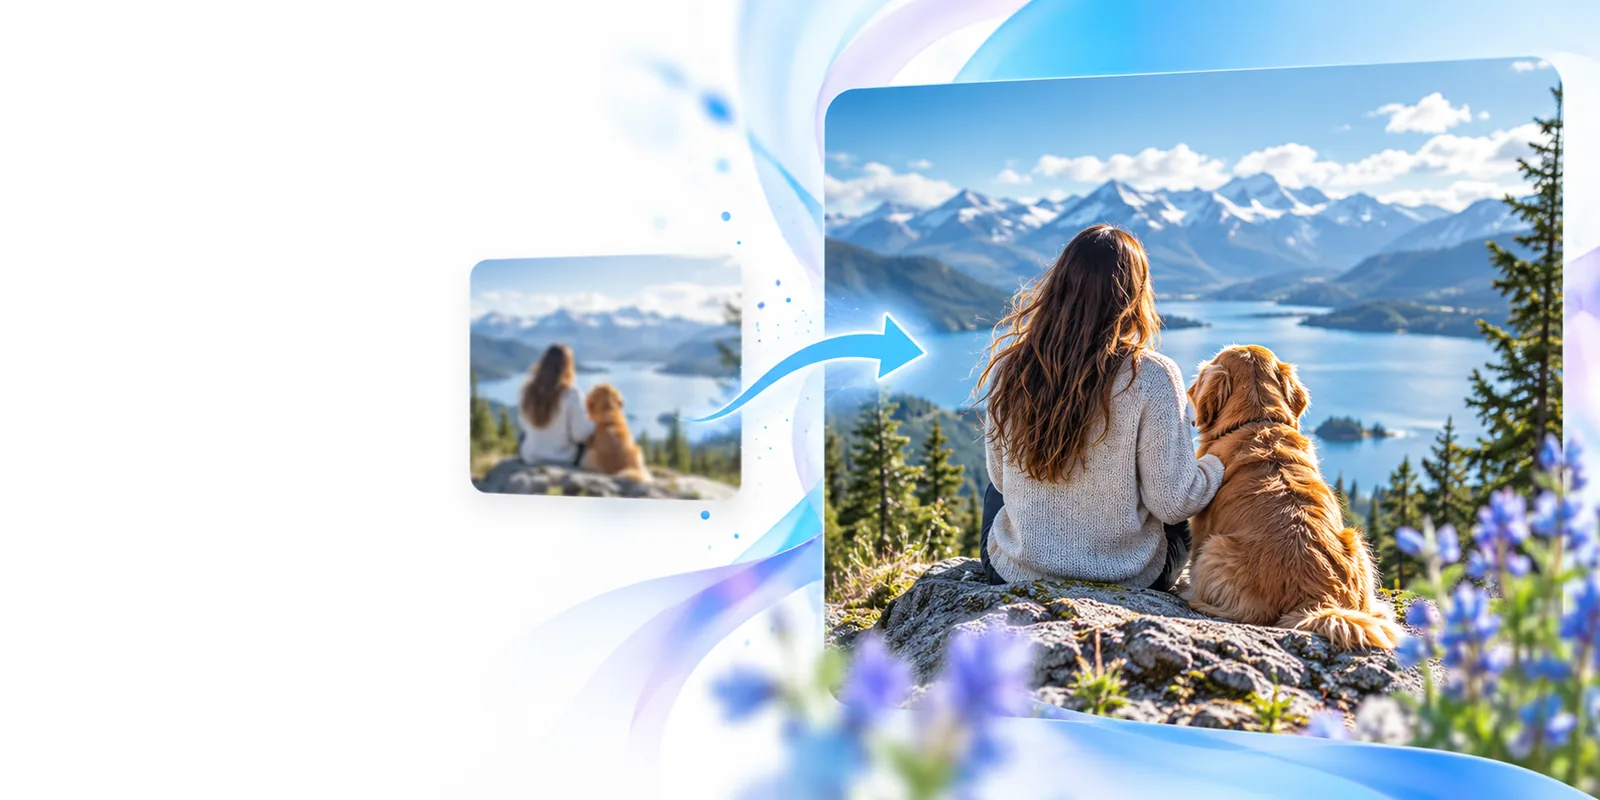
Drag the divider to compare the same animal subject before and after an image pass. This illustrates where to look, not how a human portrait will turn out.

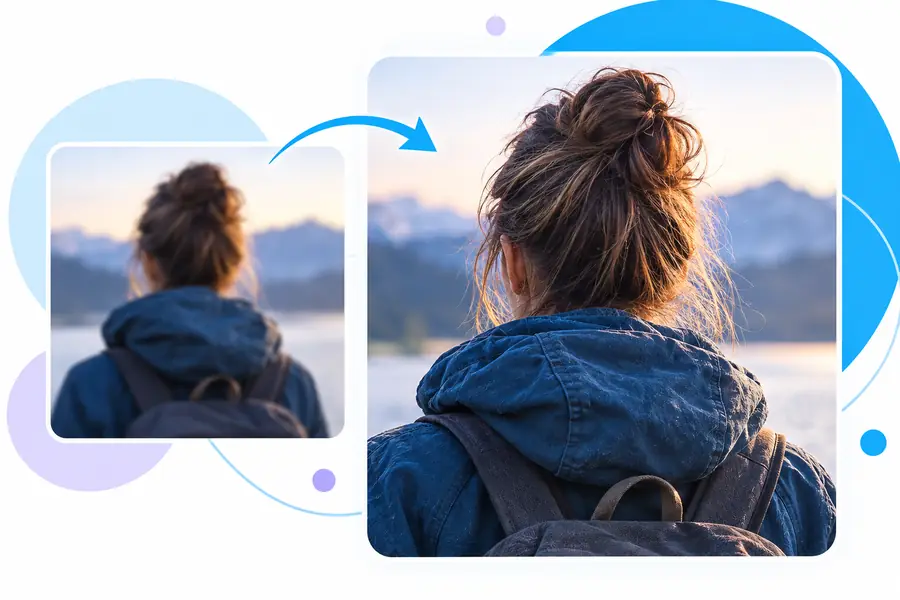 Before
After
Before
After
For a human face, make the same comparison at equal display size. Sharper-looking features can still differ from the person in the source.
BeforeAfterEnlargement adds pixels, but it cannot recover details the source never captured. Use these checks to distinguish useful clarity from plausible-looking changes.
Eye shape
Small source portrait
May be soft but retains the visible outline.
Enlarged portrait to inspect
May look crisp; check lids, pupils, and symmetry against the source.
Skin texture
Small source portrait
Fine pores may be absent.
Enlarged portrait to inspect
New texture may appear even where the original has no evidence.
Hairline
Small source portrait
Individual strands can merge.
Enlarged portrait to inspect
Separated strands may shift the apparent hairline.
Teeth
Small source portrait
Small boundaries may blur together.
Enlarged portrait to inspect
Check for altered spacing or newly defined edges.
Glasses
Small source portrait
Thin rims and reflections may be faint.
Enlarged portrait to inspect
Inspect frames, lenses, and reflections for distortion.
Face outline
Small source portrait
The jaw and ears may have soft edges.
Enlarged portrait to inspect
Confirm that the silhouette and proportions still match.
Choose the next check according to where the portrait will appear. Imageupscaler can help you plan the enlargement; judge the delivered image against your own source.
A client requests a larger crop from an older headshot.
Compare identity-bearing details before delivering; if the destination needs a defined resolution, see how to upscale image to 4k.
upscale image to 4kA scanned photograph has a small, softly focused face.
Keep the scan as a reference and learn what an image upscaler does before treating newly sharp details as historical evidence.
What does an image upscaler do?A small portrait must fit a layout without looking jagged.
Test the enlarged image at its final display size; an image upscaler vs photoshop comparison can help frame the editing choice.
image upscaler vs photoshopA thumbnail looks soft when used in a larger profile slot.
Check whether a better original exists first, then consider an online image upscaler and inspect the face at the intended crop.
online image upscalerThese site examples are visual inspection practice, not documented human-face results. Their original inputs and processing settings are not supplied, so they cannot establish portrait performance.
 Edge check
 Texture check
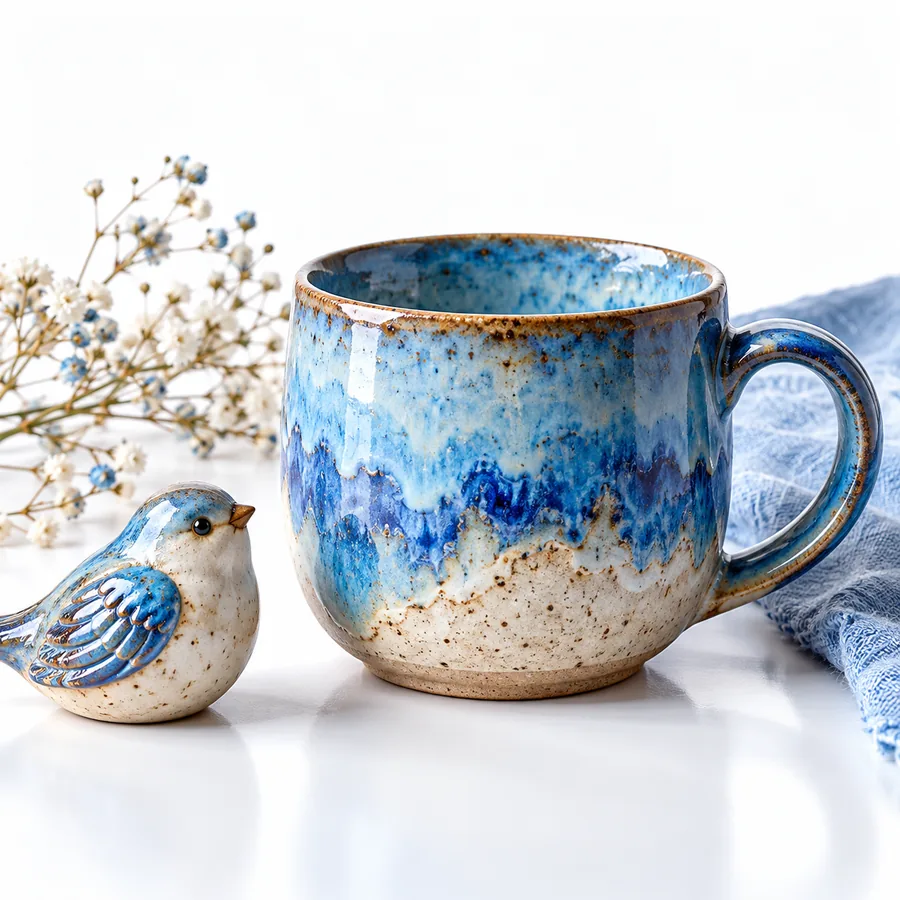 Close-up check
Portrait quality depends on the source, the intended size, and the type of edit. These guides address different parts of that decision.
Review the full portrait first, then zoom in. A result that looks polished as a thumbnail can reveal changed features at normal viewing size.
Use the same crop and orientation for both versions. Compare recognizable features, not just overall sharpness.
Check eyes, teeth, hairline, glasses, earrings, and face outline. Watch for invented texture or uneven treatment of the two sides of the face.
Check the image at its actual placement size and on the background where it will appear. If identity or authenticity matters, favor a better source over an aggressive-looking edit.
Try your portrait through the available destination tools, and retain the original for comparison. Treat extra crispness as a visual change—not proof that missing facial detail has been recovered.
Enhance my portraitNo enlargement can verify details that were not captured in the original. A result may look plausible while changing the shape of an eye, tooth, or hairline, so compare it with the source.
Start with the overall likeness, then check the eyes, mouth, face outline, and any glasses. View the result both close up and at the size where you plan to use it.
Not necessarily. A higher pixel count can make a portrait easier to display at a larger size, but visible artifacts or changed facial details may make it less suitable.
Keep the unaltered scan as your reference. If you share an enlarged version, distinguish visual enhancement from a faithful record of details that the scan did not preserve.