Upscaling guide

What is the best way to upscale images? Start with the image you have

What is the best way to upscale images? First decide whether you need a larger file, sharper-looking detail, or both. The right workflow depends on the source image and where the result will appear.

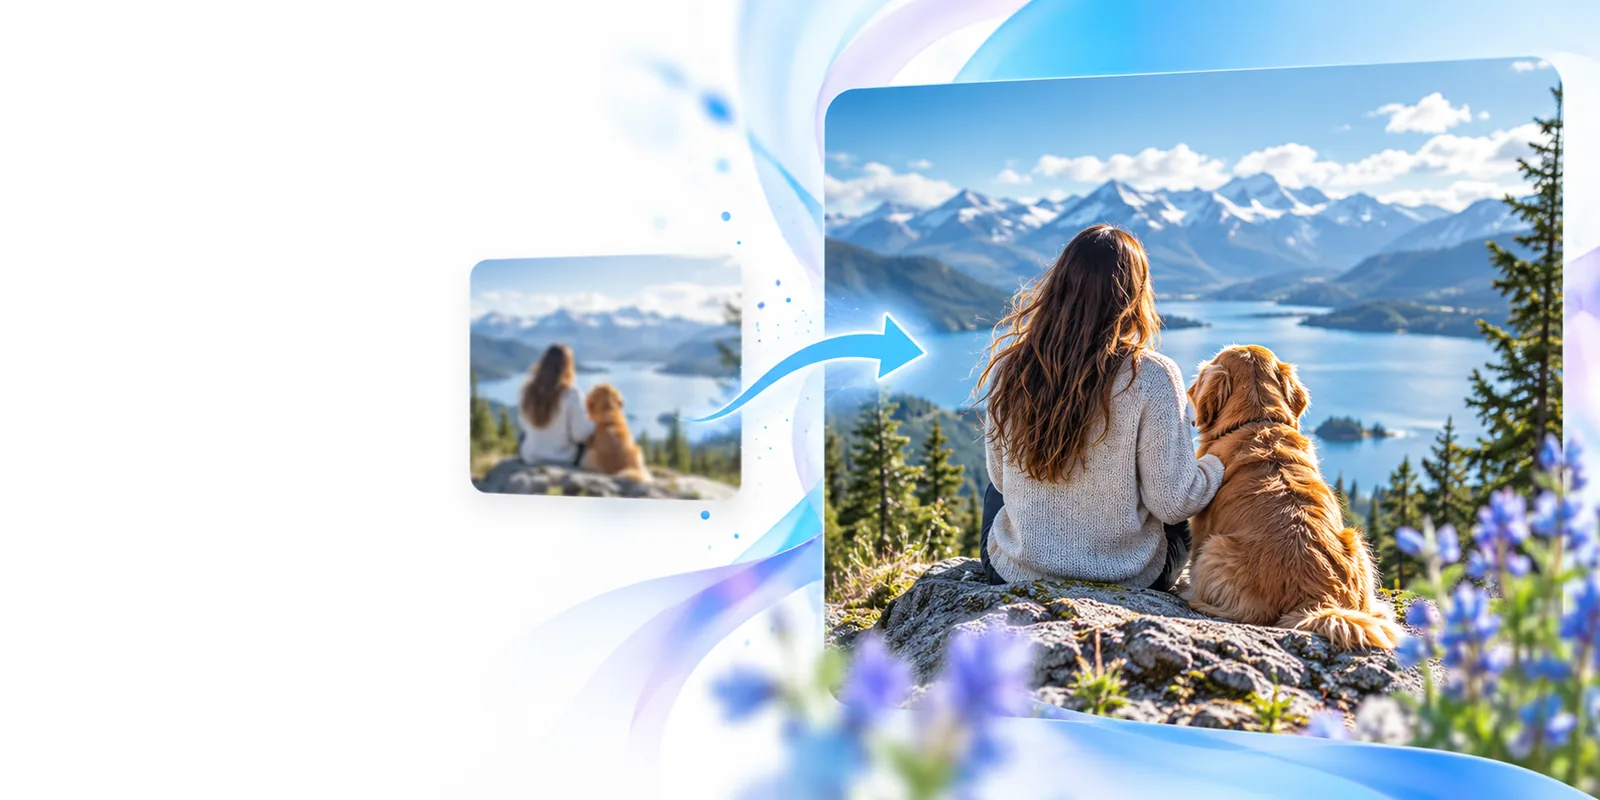
Imageupscaler visual illustrating image enlargement

path A

Use this path when the source is a photograph or other detailed raster image and you need it to appear larger without obvious blockiness.

  1. 1

    Start with the strongest original

    Find the earliest, largest version of the photo you can access. Avoid a screenshot of a thumbnail or an image repeatedly saved from a messaging app: lost texture cannot be recovered reliably. Keep the untouched original so you can compare it with every result. Before selecting an image upscaler, decide whether your real goal is a larger file for a layout or a convincing close-up of fine detail.

  2. 2

    Make one moderate enlargement

    Try an image upscaler on the original rather than enlarging an already enlarged export. A modest increase gives you a useful first test without making invented texture dominate the picture. If the tool offers different treatment for photographs and illustrations, choose the one that matches the source. Do not interpret a crisp preview as proof that tiny text, eyes, or distant objects have become accurate.

  3. 3

    Compare before going further

    Open both files at the same displayed size, then inspect each at 100% zoom. Look for waxy skin, doubled outlines, patterned noise, and lettering that changes shape. The best way to judge an image upscaler is by the destination: a picture that works in a small web card may fail as a large print. If the first result looks artificial, use less enlargement or return to a better source.

path B

Use this path for logos, diagrams, interface captures, text-heavy images, and files headed for print. Their sharp edges need different checks from photographic texture.

You must have

Without every one of these the route does not run.

  • A copy of the highest-resolution original, rather than a compressed preview.

    If the source is already blurred, an image upscaler can enlarge the blur as well as the subject.

  • The intended output width and height in pixels, or the physical print size and requested pixels per inch.

    For example, a 6-inch-wide print at 300 pixels per inch calls for 1800 pixels across; confirm the printer's own requirements.

  • A readable source for any text in the image.

    Retype critical labels from the original document if possible; never rely on an upscaled guess for names or numbers.

  • A viewer that can display both the original and result at 100% zoom.

    Also review each file at the size people will actually see it.

Nice to have

Skip any of these and the route still works — they only make it faster.

  • Access to the editable vector original for a logo or flat illustration, if one exists.

    Exporting the vector at the needed dimensions usually preserves cleaner edges than enlarging a small PNG.

If your destination changes the decision, these focused guides provide the next check.

Upscaling changes a file's dimensions, but it cannot guarantee faithful new information. These limits matter most when the image must be accurate.

Missing detail is not evidence

An image upscaler may create plausible-looking eyelashes, fabric, or foliage that was not recorded in the source. A sharper result is not necessarily a truer one.

Workaround

Use the original or locate a higher-resolution capture when factual detail matters.
Text can remain wrong

Small labels, signs, and numbers may be reshaped into convincing but incorrect characters. Increasing pixels cannot verify what the source said.

Workaround

Rebuild important text from a reliable document and proofread the final layout.

Compression leaves traces

Blocky JPEG artifacts and ringing around edges may become more visible after enlargement. Repeated passes through an image upscaler can amplify them.

Workaround

Return to the least-compressed original and compare a single moderate pass with the unprocessed file.

More pixels do not ensure good print

A file can meet a printer's pixel dimensions while still looking soft or artificial at the intended viewing distance.

Workaround

Check a crop at print size or request a proof before committing to a large run.

final check

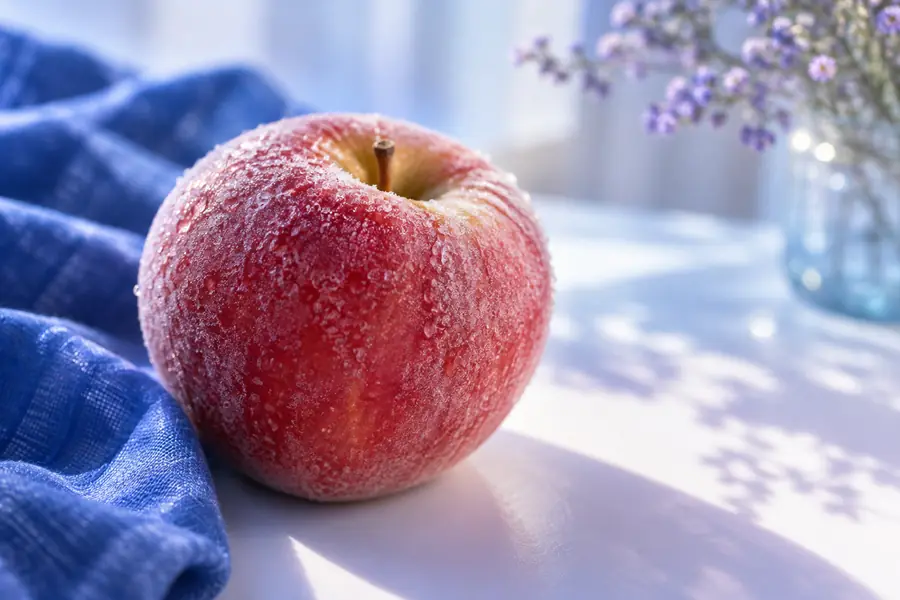
Drag the divider to compare the same subject. Treat the visual difference as an inspection exercise, not a guarantee that every source will improve in the same way.

Softer view of a frosted apple before detail enhancement Sharper view of the frosted apple after detail enhancement Before After

Check the apple's outline and frost texture at equal display size, then zoom in to look for invented patterns or halos. For your own image, also verify the exported pixel dimensions and reopen the saved file.

BeforeAfter

Try your image, then trust the comparison

The best way to use an image upscaler is to test a good original against the size you actually need. Keep a copy of the source, inspect delicate details, and choose the result that holds up in its final context. Imageupscaler can point you toward an image workflow; check the destination's available options and terms before proceeding.

Explore image tools
  • Keep the untouched original
  • Inspect at final display size
  • Verify the saved output

tutorial FAQ

Begin with the highest-quality original and set a specific output size. For photos, test a moderate enlargement with an image upscaler; for logos, use the vector original if available. Compare the saved result with the source at both 100% zoom and the intended viewing size.

Ordinary resizing increases the number of pixels using existing neighboring pixels, which is predictable but may look soft. An AI image upscaler can make detail appear sharper, but some of that detail is inferred. Test both when faithful texture or recognizable features are important.

Work backward from where the image will be used rather than choosing the biggest available output. For print, multiply the intended width in inches by the printer's requested pixels per inch to estimate the needed width in pixels. For screens, match the display or layout requirement, then inspect the result at its actual displayed size.

It may produce a more legible-looking result, but it cannot confirm characters or facial details that the source did not capture. Check important text against another reliable source and inspect faces for altered features. If accuracy is essential, find the original document or a better photograph.

View the original and result at the same size so added pixels do not win the comparison by themselves. Then check edges, repeated textures, faces, and text at 100% zoom. Keep the enlargement only if it improves the intended use without introducing distracting or misleading detail.

Start creating
Start creating