Design workflow
Where an image upscaler canva workflow fits
A larger canvas cannot restore detail missing from a small photo. Prepare the source image before placing it in Canva, then check the finished design at its intended display size.
the audience's existing pipeline
The useful starting point depends on what you are placing in Canva and where the finished design will appear.
Prepare the photo before building the post
A creator often starts with a phone photo, places it in a Canva template, crops it, and adds type. If the crop leaves only a small portion of the original, the photo may look soft even when the template is the right size. Try an image upscaler on the source first, then bring the result into the layout and inspect the cropped area.
Protect edges, labels, and color
A seller may reuse one product photo across square posts, banners, and promotional graphics in Canva. An image upscaler can help prepare a larger source, but generated detail is not proof that a label or package texture is accurate. Compare the result with the original before adding prices, captions, or decorative elements.
Make small reference images easier to place
A presentation designer may inherit a small image that must occupy a large slide area. Use an image upscaler before importing it into Canva if ordinary enlargement makes the subject visibly soft. At normal slide viewing size, compare the enhanced version with the original; a cleaner-looking preview is useful only if the subject remains faithful.
where we slot in
Canva arranges and exports the design. An image upscaler addresses the source image before that design work begins; the two tasks are not interchangeable.
- Resize inside Canva
- Prepare the source with an image upscaler
Main job
Resize inside Canva
Fit an existing image into a layout.
Prepare the source with an image upscaler
Create a larger source to evaluate before layout.
Best point in the workflow
Resize inside Canva
After choosing a template, crop, and placement.
Prepare the source with an image upscaler
Before importing or replacing the placed image.
Missing detail
Resize inside Canva
A larger placement does not recover detail absent from the file.
Prepare the source with an image upscaler
Enhancement may infer detail, which needs visual checking.
Text and logos
Resize inside Canva
Keep editable design text separate from the photo.
Prepare the source with an image upscaler
Verify any lettering or marks in the enhanced image.
Cropping
Resize inside Canva
Shows how much of the source the design actually uses.
Prepare the source with an image upscaler
Works best after you know which area must remain clear.
Final check
Resize inside Canva
Review the complete design at its intended size.
Prepare the source with an image upscaler
Compare the prepared image with the original for accuracy.
before/after
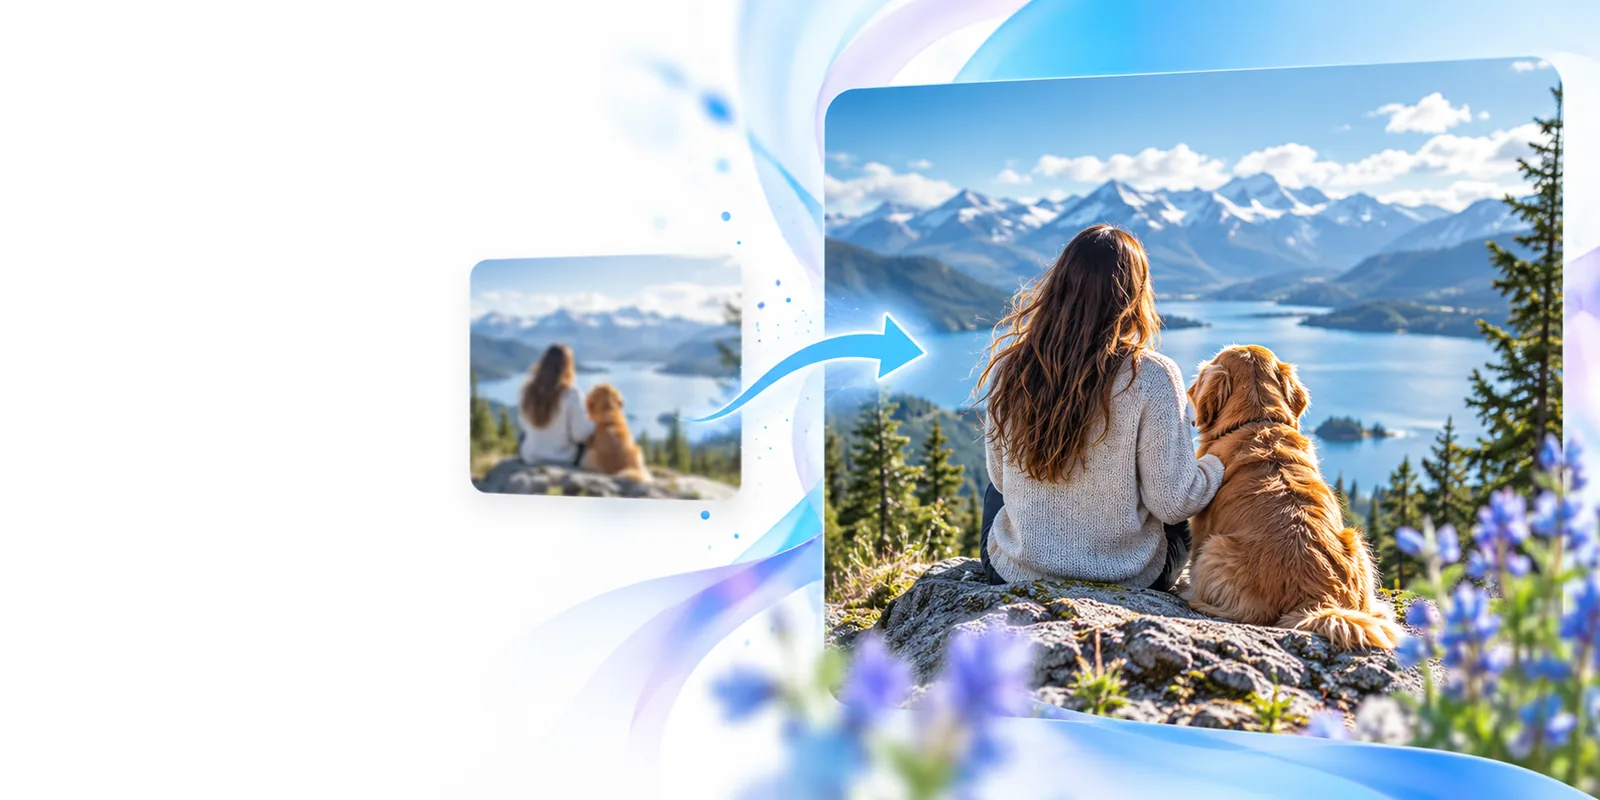
A useful comparison follows the same crop through the entire Canva design, not just a magnified preview of the source.
-
1
Choose the actual crop
Place the original in a draft Canva layout. Note which part of the photo fills the frame and whether it looks soft at the size you expect people to view it.
-
2
Prepare and compare
Try the image upscaler with the source image, then compare its result against the original crop. Reject changes to faces, product labels, distinctive textures, or other details that must remain true.
-
3
Replace and inspect
Put the chosen version into the same Canva frame without changing the crop. Review the complete design and its exported file; if both versions look alike at viewing size, enhancement may be unnecessary.
deliverable spec
Bring a checked image back to your Canva design
The deliverable is an image you have inspected against its source, ready to place in your existing layout—not a finished Canva template or a promised improvement to every photo. Keep the original, check the crop, and use the version that looks accurate at the final viewing size. Imageupscaler can be a preparation step; Canva remains where you assemble the design.
Try image enhancement- Compare the same crop before and after
- Check lettering and recognizable details
- Review the exported design at viewing size
scenario FAQ
Consider it when the source looks soft at the size or crop your design requires. Try the original in the layout first, then use an image upscaler only if the comparison shows a worthwhile difference. Review the enhanced image for invented or altered details.
Not necessarily. First check whether the placed source is blurry in the design and whether the exported file is being viewed at an appropriate size. An image upscaler may help with a small source, but it cannot guarantee recovery of detail that was never captured.
You can evaluate the enhanced image in your post layout, subject to the terms that apply to your source image and the tools you use. Inspect faces, logos, and text before publishing. A social post should be judged at its likely viewing size, not only while zoomed in.
No. If an original already looks clear in its final crop, keep it. Reserve image enhancement for assets where the available source is too small or visibly soft, and compare both versions in the same design before deciding.