Practical image guide

A practical free image upscaler tutorial

This free image upscaler tutorial walks through a careful workflow for turning a small or soft image into a cleaner, more usable result. Start with the source, choose a sensible enlargement, inspect the details, and export only after a final quality check.

Review the result before export
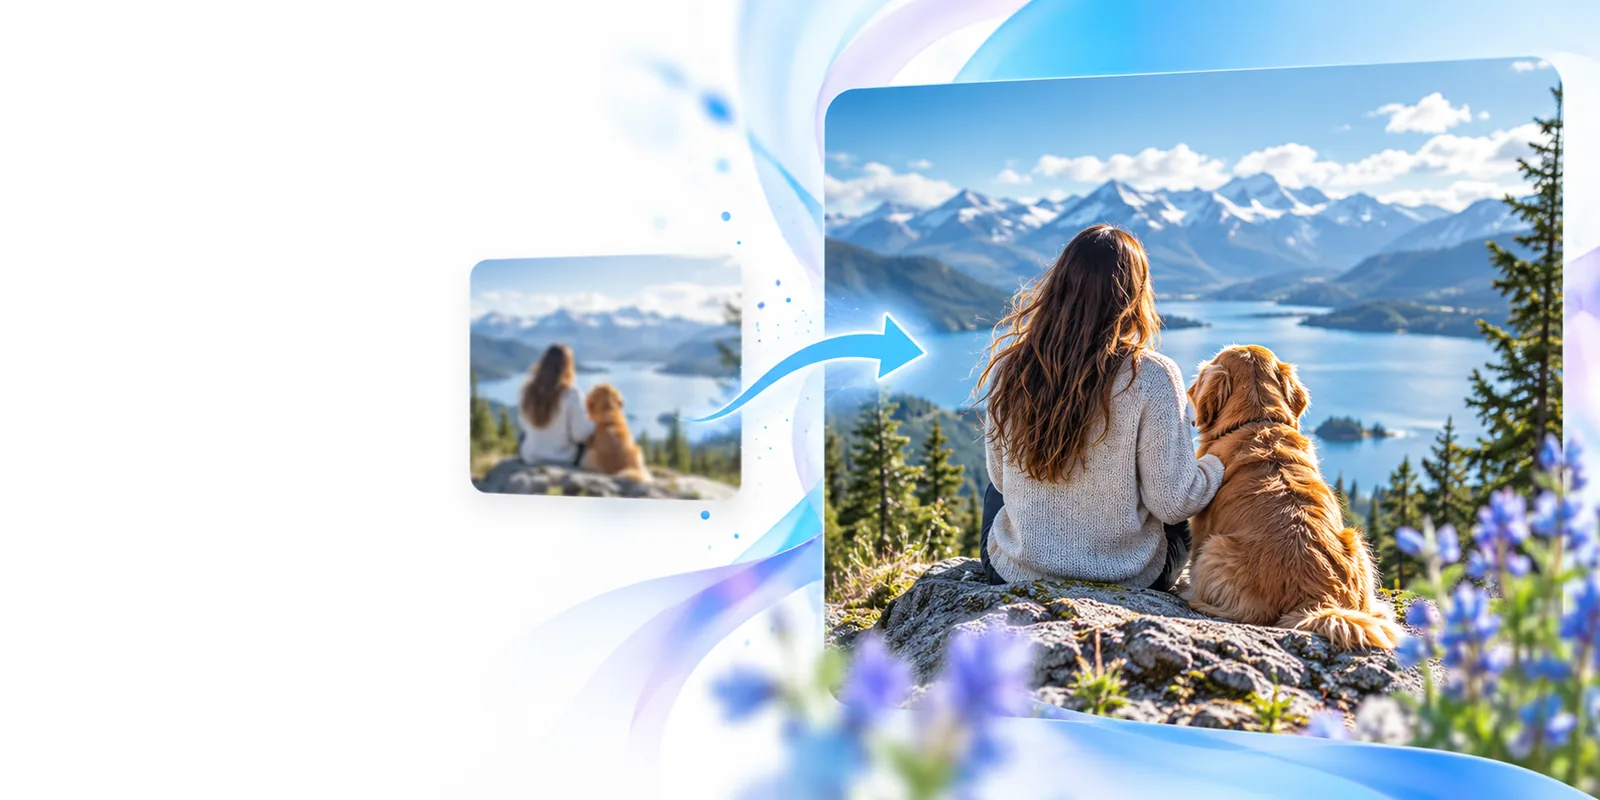
Imageupscaler workspace showing an enhanced image
  1. 1

    Prepare the source

    Use the largest, clearest copy available, remove accidental crops, and decide the final use before choosing an enlargement.

  2. 2

    Run the upscale

    Upload the image, select the intended output size, and let the image upscaler process edges, texture, and visible subjects.

  3. 3

    Inspect and export

    Check faces, text, fine lines, and high-contrast edges at full size before saving the version that fits your destination.

Prerequisites

A few minutes of preparation makes an image upscaler more predictable. These requirements help separate a genuine improvement from a larger file that only looks sharper at a glance.

You must have

Without every one of these the route does not run.

  • The highest-resolution original you can access, rather than a screenshot of a compressed preview.

    A larger starting file preserves more usable information.

  • A defined output purpose, such as a print, profile image, product listing, or presentation.

    The destination determines how large and sharp the result needs to be.

  • A way to compare the original and enlarged versions at 100% zoom.

    Fit-to-screen previews can hide halos and repeated texture.

  • A backup copy of the original file before processing.

    Keep the source unchanged so you can try a different setting later.

Nice to have

Skip any of these and the route still works — they only make it faster.

  • A crop or simple editor for final framing and light cleanup.

    Useful when the output needs a specific aspect ratio.

Common errors and fixes

Upscaling cannot recover every missing pixel or correct every weak source. Use these checks to identify when the output needs a different source, a smaller target, or a lighter treatment.

A tiny source cannot reveal original detail

An image upscaler can estimate plausible structure, but it cannot retrieve information that was never captured.

Workaround

Use the original camera file or choose a smaller output size when the source is extremely small.
Blurred motion may stay uncertain

Motion blur spreads edges across several pixels, so enlargement can make the blur more visible rather than remove it.

Workaround

Try a sharper frame, crop the subject less aggressively, or accept a softer result instead of forcing crisp edges.

Small text may become distorted

Letters with only a few source pixels can turn into convincing but incorrect shapes after processing.

Workaround

Use the original document or recreate the text separately over the enlarged image.

Faces can look overly smooth

Strong enhancement may reduce pores and natural variation, producing a polished but artificial appearance.

Workaround

Choose a gentler setting, compare at 100%, and avoid judging skin texture only in a small preview.

Advanced tips

Once the basic process feels reliable, use a more deliberate review method. These advanced habits improve consistency without pretending that every source can produce the same level of detail.

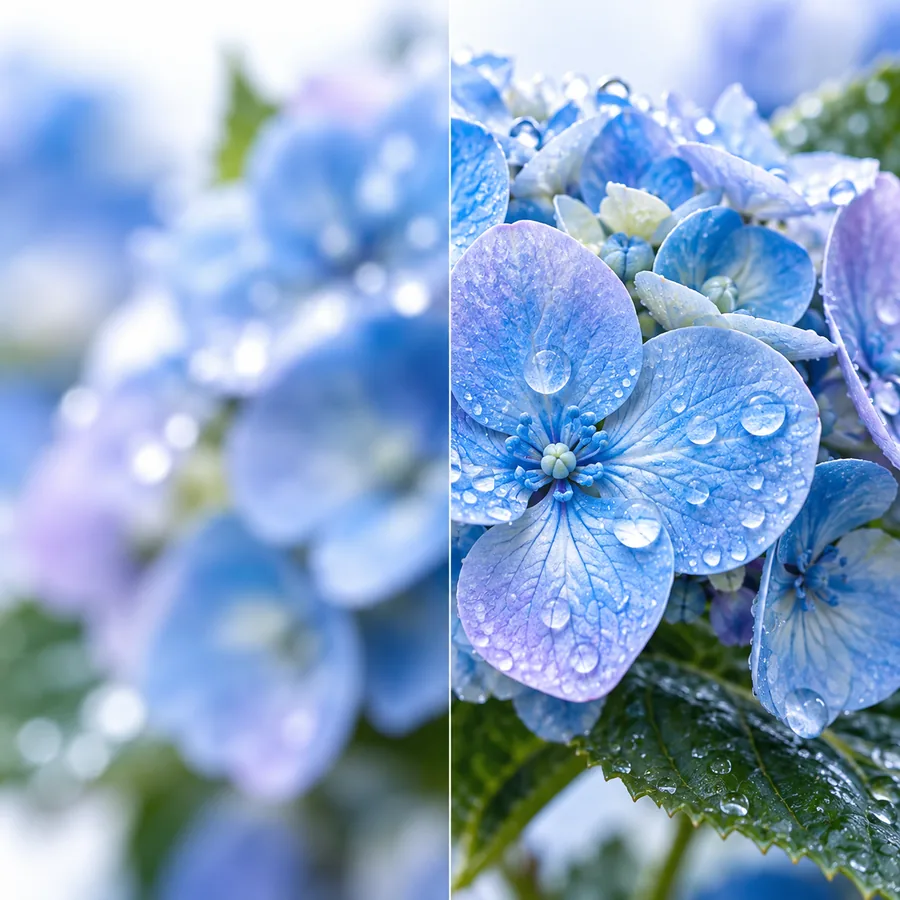
Before and after image detail comparison

Match the enlargement to the destination

Do not begin with the largest possible output simply because the control allows it. A modest enlargement often preserves natural edges better than an aggressive jump, especially for compressed photos, screenshots, and low-light images. First estimate the dimensions required by the destination, then choose the smallest output that meets that need. This keeps invented detail from becoming the dominant visual signal.

QUALITY RULE

Choose the output for its use, not for the biggest number available.

Close inspection of an enlarged image

Inspect high-risk details first

A quick full-image glance is useful, but it is not enough. Zoom into eyes, hair, fingers, signs, thin branches, product labels, and sharp boundaries against a contrasting background. These areas reveal repeated patterns, broken lines, halos, and strange texture sooner than broad surfaces do. Compare the same crop from the source and result so a larger display does not make every change seem positive.

INSPECTION ORDER

Check faces, text, and edges before spending time on broad areas.

Organized image versions ready for comparison

Keep versions instead of overwriting

Save the original, the first processed result, and the final selected version with clear names. If a result looks acceptable at first but fails in a print or layout, the earlier versions help you identify whether the issue came from enlargement, cropping, sharpening, or export compression. A repeatable naming habit also makes it easier to compare a second run with a smaller target or a different source.

WORKFLOW TIP

Preserve the source and compare versions before committing to one export.

Put the tutorial into practice

Use the workflow on one image, then review the result at its actual intended size. A careful source choice, measured enlargement, and honest inspection usually matter more than chasing the largest output.

Improve my image
  • Prepare the original first
  • Check faces, text, and edges
  • Keep the final export separate

Tutorial FAQ

These answers cover the practical questions people usually ask when looking for a free image upscaler tutorial and deciding how to begin.

Start by finding the highest-quality original and deciding where the enlarged image will be used. Check its current dimensions, crop, compression, and focus before selecting an output size.

No. An image upscaler can enlarge a file and estimate missing detail, but it cannot fully restore information lost through severe blur, tiny dimensions, or heavy compression. A better source and a smaller target often produce a more natural result.

Choose the smallest output that satisfies the destination. For a profile image, listing, screen layout, or print, the required dimensions differ, so avoid selecting a large target without a practical reason.

The process may be adding strong texture, smoothing faces, or creating halos along contrast edges. Compare the result with the original at 100% zoom, then try a gentler enlargement or use a sharper source.

Yes. Review faces, small text, hair, thin lines, and high-contrast boundaries at full size. If those areas look convincing and the result meets the destination dimensions, export a separate copy while keeping the original unchanged.

Start creating
Start creating