Small business owner
A product photo looks too small for a store listing or promotional layout.
Enlarge the image, inspect the label and edges, then choose the clearest version for the page.
best image upscaler onlineSharper images online
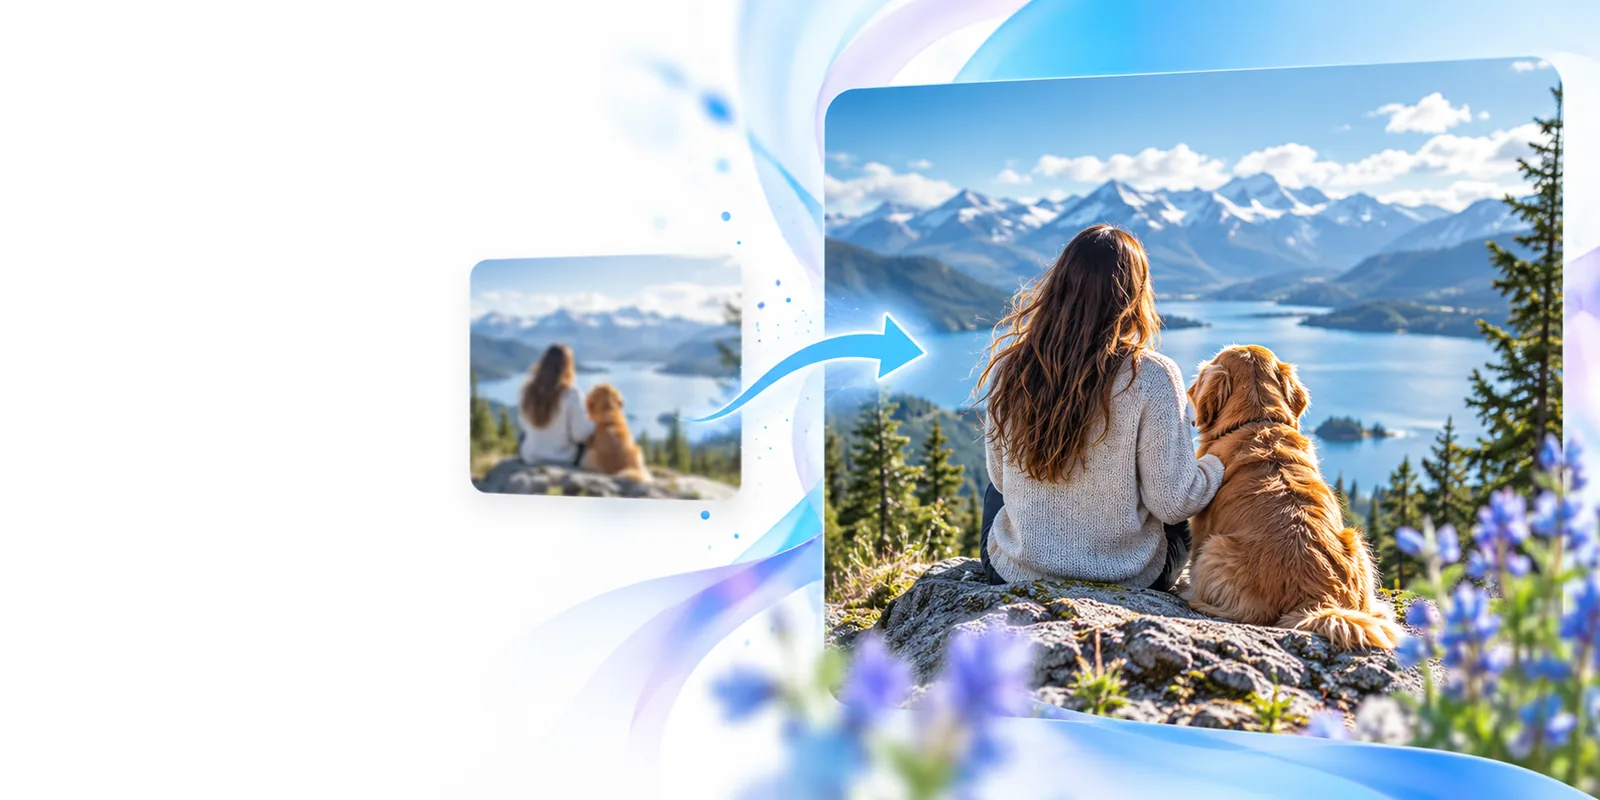
An online image upscaler helps enlarge a small or soft photo without sending you into a complex editing workflow. Upload an image, review the enhanced result, and decide whether it fits your intended use.
At a glance
The right approach depends on whether you need a quick browser workflow or detailed manual control. This comparison keeps the practical differences visible.
Setup
Online image upscaler
Open in a browser and begin with an image
Desktop image editor
Install or open dedicated editing software
Primary purpose
Online image upscaler
Enlarge an image and improve perceived detail
Desktop image editor
Handle a broad range of manual editing tasks
Workflow
Online image upscaler
Upload, process, inspect, and save the result
Desktop image editor
Open, adjust settings, retouch, and export
Control level
Online image upscaler
Focused controls for a narrower task
Desktop image editor
More settings, layers, masks, and adjustment options
Best fit
Online image upscaler
Quick fixes, content preparation, and repeatable image cleanup
Desktop image editor
Detailed creative work requiring hands-on editing
Learning curve
Online image upscaler
Shorter path for a single enlargement task
Desktop image editor
More time may be needed to learn the toolset
Review needs
Online image upscaler
Check edges, faces, text, and small textures after processing
Desktop image editor
Check every adjustment and export setting manually
Access
Online image upscaler
Useful when the browser is the most convenient workspace
Desktop image editor
Useful when installed software and local project files are central
Practical uses
Different people start with different image problems, but the useful outcome is the same: a larger, cleaner file that is easier to place in the next step of the project.
A product photo looks too small for a store listing or promotional layout.
Enlarge the image, inspect the label and edges, then choose the clearest version for the page.
best image upscaler onlineA social post needs a sharper crop from an older photo or compressed download.
Prepare a cleaner source before placing it into a post, thumbnail, or short-form video cover.
best image upscaler onlineA useful image does not have enough visible size for a banner, card, or presentation.
Create a larger working version, compare it with the source, and continue designing only if the details hold up.
best image upscaler onlineAn older scan or casual snapshot needs a more usable size for sharing or printing.
Improve the viewing size while checking that faces, hair, clothing, and background textures remain natural.
best image upscaler onlineWhat changes
Image enlargement is easier to judge when each part of the result has a clear purpose rather than being treated as a single vague improvement.
Before you begin
Good preparation makes the result easier to evaluate. These requirements help separate a useful enlargement from an image that simply looks bigger.
Without every one of these the route does not run.
Have the original or highest-quality version of the image available
A cleaner source gives the process more visible information to work with.
Know where the enlarged image will be used
A web image, social crop, presentation, and print layout may need different dimensions.
Check faces, lettering, and high-contrast edges after processing
These areas make artificial sharpening or invented detail easiest to notice.
Keep the original file unchanged for comparison
The source gives you a reliable reference when judging the output.
Skip any of these and the route still works — they only make it faster.
Crop the image before enlargement
Optional when the subject is surrounded by unnecessary background.
Use a heavily blurred or severely compressed image
Possible, but expectations should stay modest because missing detail cannot always be recovered.
Simple workflow
The online workflow is intentionally short: prepare the source, let the image process, and make a visual decision before using the result elsewhere.
Select the original image or the least-compressed copy you have. Remove an unnecessary crop only when it hides important subject detail.
Send the image through the online workflow and wait for the enlarged version to be prepared. Avoid judging the result from the upload preview alone.
Compare the source and result at the size you actually need. Look closely at faces, text, repeated patterns, and hard edges before placing it in a project.
Built for different tasks
The same enlargement step can support different goals. Start with the audience or output context that best describes what you are doing next.
Web graphics often need to look clear inside a fixed card, listing, or content layout. Enlarge the source first, then check whether the subject remains readable at the final display size.
Social content frequently starts with an older image, a downloaded copy, or a crop that is smaller than the new layout requires. A larger version can give the composition more flexibility before publishing.
Print layouts make weak detail easier to notice because the image may be viewed at a larger physical size. Use the enlarged version as a working file, then confirm that its dimensions and quality suit the intended output.
Visual check
A before-and-after view makes the useful question simple: does the larger image preserve the subject well enough for the job it needs to do?
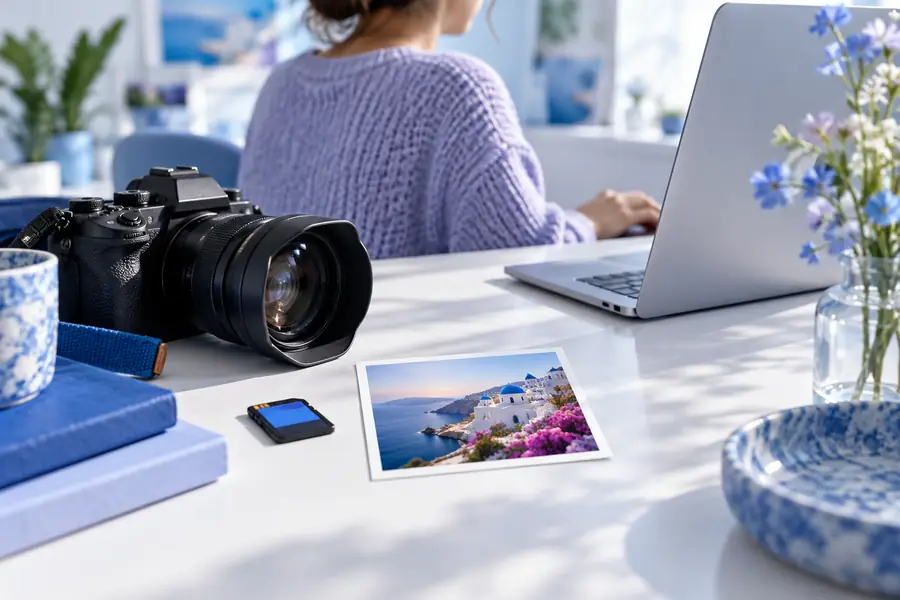 Original
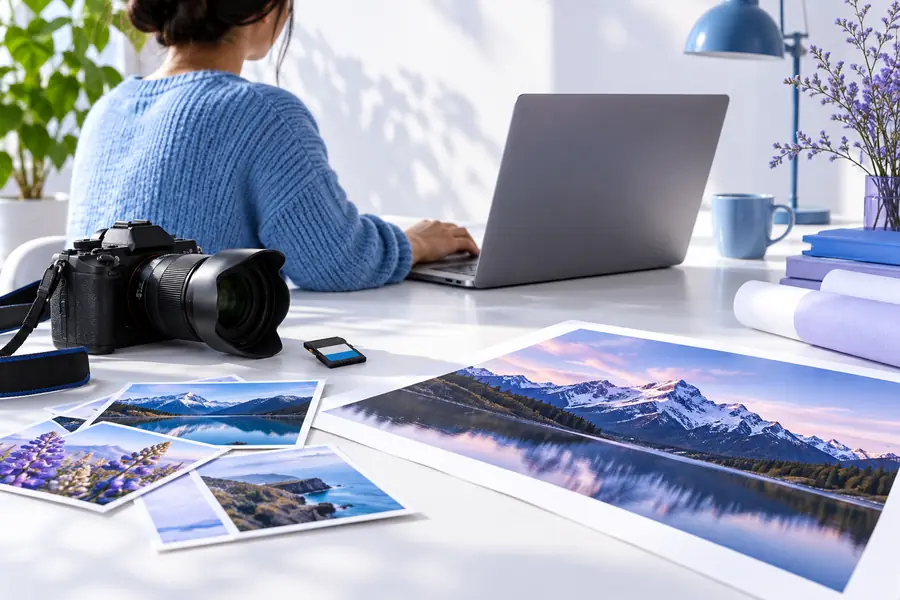 Enlarged
Next image
Bring one image into the online workflow and make a careful visual comparison before you use the result. If you are weighing tool choices first, the best image upscaler online guide explains the practical factors that matter.
Upscale my imageCommon questions
It is a browser-based workflow that enlarges an image and attempts to produce a clearer-looking result. You use it without making a desktop editor the center of the task, then inspect the output before saving or placing it elsewhere.
Use one when a photo, scan, product image, or social asset is too small for its next purpose. It is especially convenient when you want a focused enlargement workflow rather than a full set of manual editing tools.
No. Enlargement can improve perceived sharpness and make an image more usable, but it cannot reliably recover information that was never captured. Always inspect faces, lettering, repeated patterns, and strong edges for artifacts.
Compare it with the original at the size where it will actually appear. Check the subject first, then review small text, facial features, hair, textures, and outlines at a closer view.