Workflow comparison

Image Upscaler vs Photoshop: Choose by the Work You Need

The image upscaler vs photoshop decision is less about which can make a file bigger and more about how much control the image needs. Automated enlargement suits a straightforward resolution change; Photoshop suits images that also need selective repair, compositing, or precise finishing.

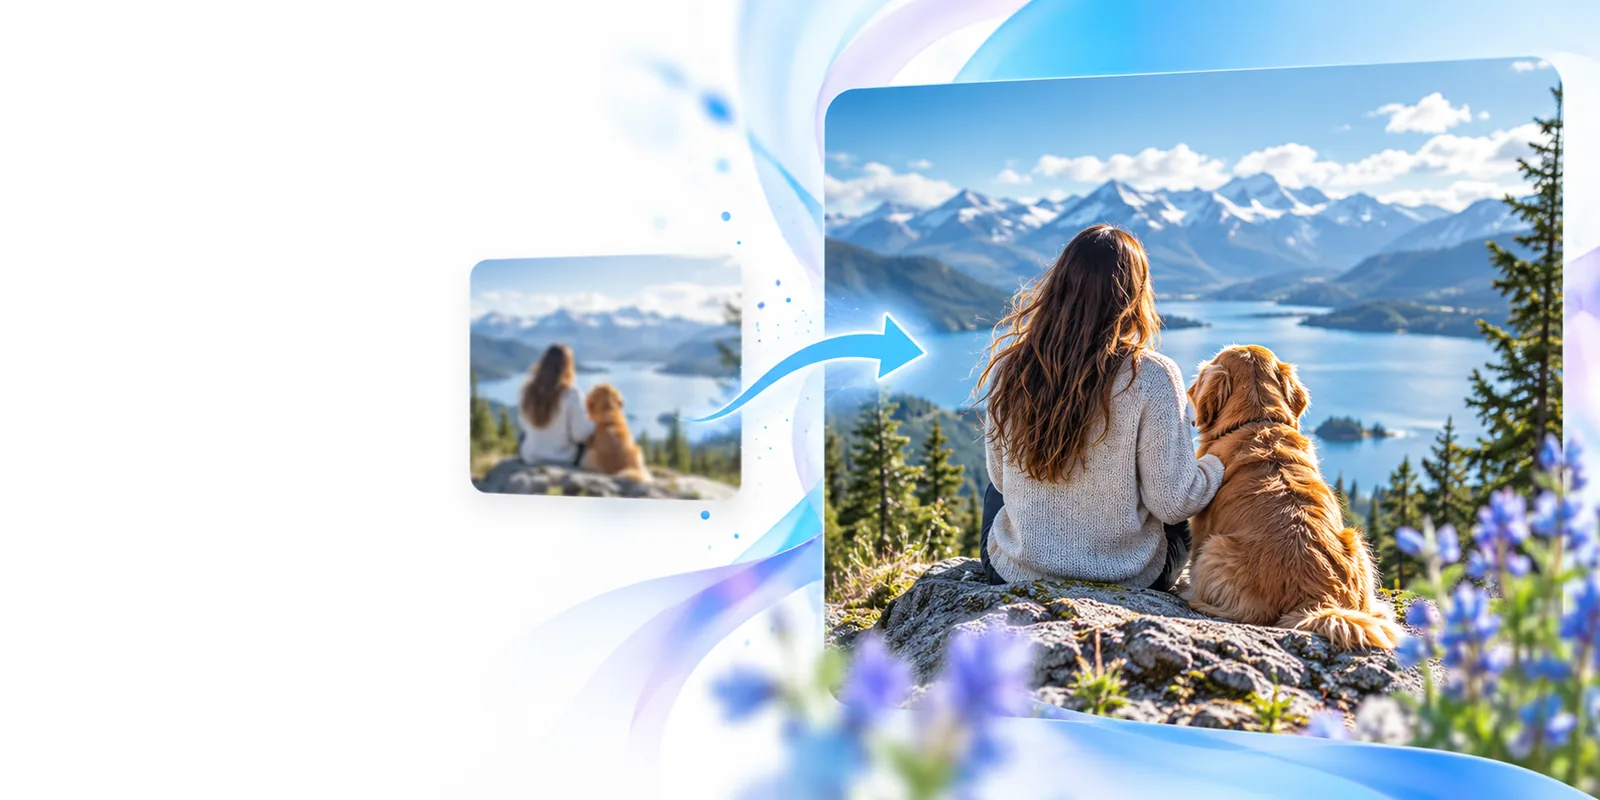
Imageupscaler landing-page visual

Verdict first: a side-by-side view

Both approaches can produce a larger image, but pixel dimensions alone do not settle the choice. Decide whether you need a quick enlargement or an editable path to a carefully finished result.

Automatic image upscaler
Photoshop workflow

Main job

Automatic image upscaler

Enlarges an existing image with relatively little manual intervention. Best when the composition is already acceptable.

Photoshop workflow

Combines resizing with a broader editing workspace. Best when enlargement is only one part of the job.

Starting effort

Automatic image upscaler

Typically asks you to supply an image and review the enlarged result.

Photoshop workflow

Requires choosing a resize method and, when needed, working through adjustments and export settings.

Local corrections

Automatic image upscaler

A single pass may affect the whole frame, including areas you would rather treat differently.

Photoshop workflow

Layers, masks, and selections let you target a face, background, edge, or patch separately.

Detail recovery

Automatic image upscaler

May create plausible-looking texture, but added detail should not be mistaken for evidence of what was originally there.

Photoshop workflow

Resampling and editing offer ways to refine appearance, but cannot establish missing factual detail either.

Repeatability

Automatic image upscaler

Useful when many similar images need the same basic enlargement and individual retouching is unnecessary.

Photoshop workflow

Actions and batch processes can repeat steps, although files needing judgment still require inspection.

Editable handoff

Automatic image upscaler

A finished enlarged image is convenient when no one needs to revise separate visual elements.

Photoshop workflow

A layered working file can preserve masks, adjustments, and composition choices for later changes.

Quality check

Automatic image upscaler

Inspect faces, text, fine patterns, and hard edges after enlargement for invented or uneven detail.

Photoshop workflow

Inspect those same regions, plus any sharpening halos or artifacts introduced during manual edits.

Dimension by dimension: where each approach wins

Speed and control are separate advantages. Neither method guarantees a better image without checking the source and the intended viewing size.

Automatic enlargement

1

Choose it when the original looks right and you mainly need more pixels.

  • Keeps the workflow focused on enlargement instead of opening a full editing project.
  • Makes it practical to test an output and decide quickly whether it holds up at the intended size.
  • Fits photos and illustrations that do not need separate masks, typography, or composition changes.
  • May reinterpret tiny features, repeated textures, or lettering in ways that look convincing but are inaccurate.
  • Offers less direct control over one troublesome region than a layer-based editing workflow.

Photoshop

2

Choose it when resizing must sit alongside selective editing and a revisable handoff.

  • Lets you mask, retouch, sharpen, and inspect specific regions instead of treating the whole frame alike.
  • Supports layered revisions when a designer or client may request later changes.
  • Provides control over crop, color, composition, and export within the same project.
  • Takes more hands-on decisions when all you wanted was a larger version of an acceptable image.
  • Manual effort cannot reconstruct reliable source detail that the camera or original artwork never recorded.

Related decisions before you enlarge

The best route also depends on your output goal, the kind of enhancement you expect, and whether you are comparing other tools.

Who each workflow suits

Start with the deliverable rather than the tool name. A larger social image, a retouched portrait, and an editable campaign asset call for different amounts of intervention.

Choose this when

The image is already composed well, and you need a larger version for viewing or placement.

Start with an image upscaler, then inspect the result at the size people will actually see.

There is little benefit in building a layered project if you do not need selective edits. Check high-contrast edges and recognizable details before using the export.

Choose this when

A portrait has distracting marks, uneven lighting, or a background that needs separate treatment.

Use Photoshop for the local corrections; evaluate enlargement as one step in that edit.

Masks and selections let you address distinct problems without forcing the same treatment onto skin, hair, clothing, and background.

Choose this when

The result must remain editable for a designer, or it includes text and arranged visual elements.

Keep the layered work in Photoshop and enlarge placed images only as needed.

A flattened enlarged image does not preserve independently editable type, layout, or adjustment decisions. Keeping those elements separate makes later revisions more predictable.
Migration path: what will not carry over

You can test an automatic enlargement before continuing an edit, but moving a finished image between workflows does not turn it into a layered source file.

Missing detail stays uncertain

An enlarged eye, sign, or small object may appear more defined without becoming a reliable record of its original appearance. This matters for identification, documentation, and any use where factual accuracy outweighs visual plausibility.

Workaround

Find a higher-resolution original or another source image when the exact detail matters.

Flattened exports do not restore layers

Opening an enlarged export in Photoshop gives you pixels to edit, not the original masks, adjustment layers, editable text, or separated objects. The result may be useful as an image layer, but it is not a substitute for the working file.

Workaround

Keep the original layered document and place the enlarged image into it as a separate asset.

Text and geometric marks can change

Small labels, logos, repeating lines, and fine patterns can be distorted during automatic enlargement. A visually pleasing photo result does not prove that lettering or brand shapes survived accurately.

Workaround

Rebuild critical text and logos from editable or vector originals, then check them at final size.

A bigger file is not automatically print-ready

More pixels do not guarantee clean edges, accurate color, or enough genuine source information for close viewing. Print requirements also depend on the physical output size and how far away it will be seen.

Workaround

Inspect a proof at the intended dimensions and ask the printer for the required file specifications.

Choose the next step for your image

Start with the result you need

If you mainly want to explore ways to make an image larger, visit Imageupscaler's image tools and assess the available workflow against your source and output goal. Keep Photoshop in the process when you need masks, editable layout, or precise local repair. Whichever path you take, compare the result with the original and inspect it at its intended viewing size.

Explore image tools
  • Keep the original file for comparison.
  • Inspect text, faces, and fine edges.
  • Preserve a layered source when revisions matter.

Comparison FAQ

It depends on whether enlargement is the whole task. An automatic tool is a reasonable starting point when you want a larger version of an otherwise acceptable photo. Photoshop is better suited to a job that also needs selective retouching, masks, or an editable working file.

Photoshop can increase an image's dimensions using its resizing tools, and it also provides options for editing the result. The output of any method still needs visual inspection: increasing pixel count does not guarantee that small details look natural or remain accurate.

Keep the highest-quality original and an editable working file, then test the order on your particular image. Corrections to composition and local defects are often easier to manage in layers, while a test enlargement can reveal which edges or textures need attention. Avoid repeatedly resizing and saving a lossy export when you can return to the source.

Both methods may change how blurry features look, but neither can verify information missing from the source. Generated facial detail or reconstructed letters may be plausible rather than correct. For accuracy-sensitive work, use a better original instead of treating an enlarged result as evidence.

Not necessarily, if the enlarged result meets your needs without further changes. You may still want Photoshop when you need to repair an artifact, adjust one area independently, add editable text, or prepare a layered handoff. Judge the exported image at the size and in the context where it will be used.

Start creating
Start creating